The purpose of this post is not to discuss what virtualization is. You can find lot of resources on other blog for the same. You can refer to this Wikipedia Article as an appetizer.
I have used Virtualization technology for long time now. I have used technologies from VMWare (Industry Leader), Connectix (Now taken over by MS and called Virtual PC and Server), Parallels, XenSource (Now part of Citrix)
What I am presenting here is an approach which should hold true for most virtualization software’s. For practical purpose I am going to use Virtual PC 2007 which is a software for Windows/Mac OS which runs on your existing operating system (Win XP, Vista or Mac). Virtual PC is an emulation environment in which you can create an emulated PC having your own choice of OS and applications installed without changing or modifying your existing OS. So you can have multiple OS running in parallel. Only limitation is the resources so technically you can many OS running at a time. Well considering that today PC prices are going down with processor performance going up coupled with cheap RAM and hard disk we can have a full blown lab and network setup on single PC be it a Desktop or Laptop. I personally use a laptop with 4GB of RAM running Vista Ultimate SP1 64-Bit.
NOTE: You need to have an 64-Bit OS (Win XP or Vista) in order to use the full 4GB of RAM on laptop. Only 3GB is supported if you are running on a 32-Bit OS. Vista 32-Bit shows the Available RAM as 4GB on System Properties but if you probe using the Task Manager its only 3GB.
Getting down to the real topic, as an MOSS Administrator/Architect I always needed an environment where I don’t have to think a lot or take backups before doing anything new which may screw-up the OS and/or application, in pursuit I found the virtualized environments Disk Differencing (VMWare Snapshots) feature can help me and save me a lot of time. I have used the Virtual PC and VMWare environment to make various farm architectures, trying to develop and break the SharePoint systems, trying multilingual interfaces and lot more. I basically keep some template ready for SharePoint labs so that if I need a new SharePoint installation I start from the SharePoint template and then configure the system SYSPREP and then do an automated SharePoint configuration. The base template has all the tools pre installed which even has the SharePoint installed. I just need to create a farm configuration and make some site to play with. This whole process does take couple of hours as opposed to couple of days.
Now once the SharePoint is up an running of a default template and when I am ready to deploy some solution which modifies default SharePoint files (lot of files not a couple) then I do not take backup of these files, I use the UNDO disk in Virtual PC which is just as Ctrl + Z if you don’t like the changes just revert back. Well it not literal Ctrl + Z, it will take you about 15 minutes to do so.
This is just like XP’s System Restore or can be termed as Snapshot. What the feature does is makes an restore point of system state which is just like going back in time. Technically this saves your virtual hard disk and mark it as read-only and then creates a new disk which will store changed data. Let me try to put a small example.
Here is how the disk will look after creating the differencing disk, the differencing disk will only hold links to the original files and the physical file is still there on Base Disk
| Base Disk | Differencing Disk |
| Dir A | Dir A (Just a Link) |
| File A | File A (Just a Link) |
| Dir B | Dir B (Just a Link) |
Now lets do some operations and look how the disks look like
We will add directory "Dir C" to the disk and this is how the disks look like
| Base Disk | Differencing Disk |
| Dir A | Dir A (Just a Link) |
| File A | File A (Just a Link) |
| Dir B | Dir B (Just a Link) |
| Dir C |
Let delete "Dir B" (note that as "Dir B" was link only link is deleted so the file does not exist in differencing disk)
| Base Disk | Differencing Disk |
| Dir A | Dir A (Just a Link) |
| File A | File A (Just a Link) |
| Dir B | |
| Dir C |
What if I change file "File A"? The file link will be removed and instead the new file will be physically residing on differencing disk
| Base Disk | Differencing Disk |
| Dir A | Dir A (Just a Link) |
| File A | File A |
| Dir B | |
| Dir C |
I think that I have made an reasonable effort to explain this. Now lets try to create Differencing Disk using Virtual PC.
Creating the Differencing Disk
- Open Virtual PC (Start Menu > Programs > Microsoft Virtual PC)
- Open Virtual Disk Wizard (File > Virtual Disk Wizard)
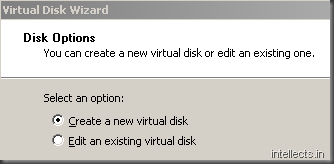
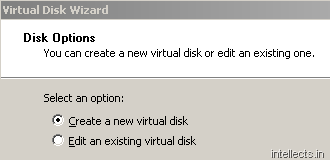
- Click "Next"
- Select "Create a new virtual disk" and click "Next"
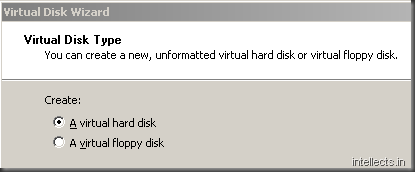
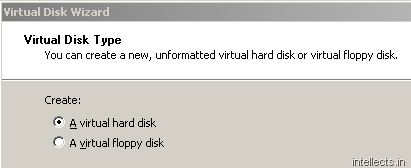
- Select "A Virtual hard disk" and click "Next"
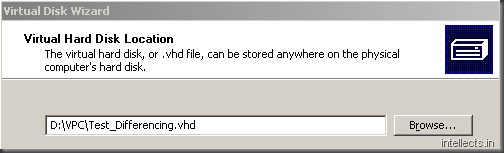
- Select the Name and location where the new differencing disk will be saved and then click "Next"
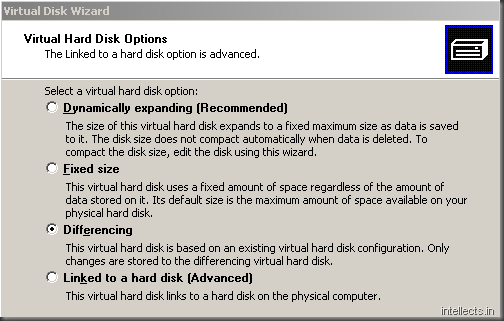
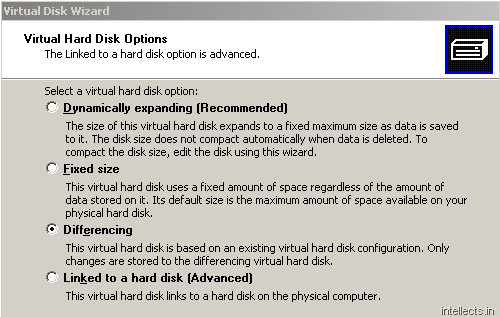
- Select "Differencing" and click "Next"
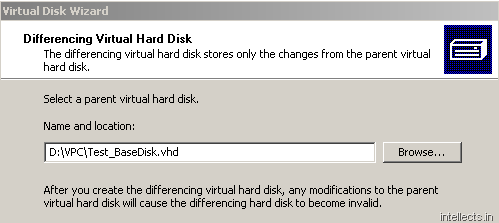
- Select location of the Base Disk (Parent Disk) and click "Next"
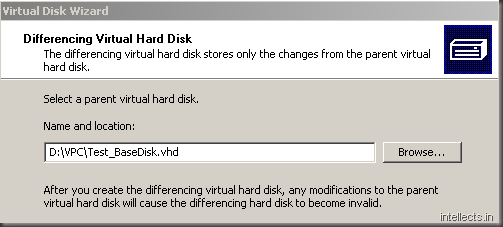
NOTE: Please make sure that you make the parent hard disk as read-only as any changes to parent will cause the differencing hard disk to become invalid. - Click "Finish"
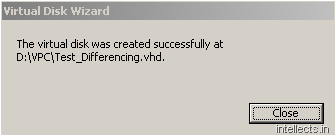
- You should get the success message as follows
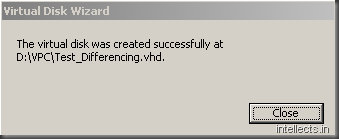
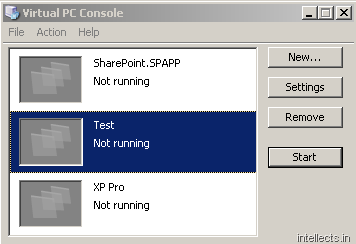
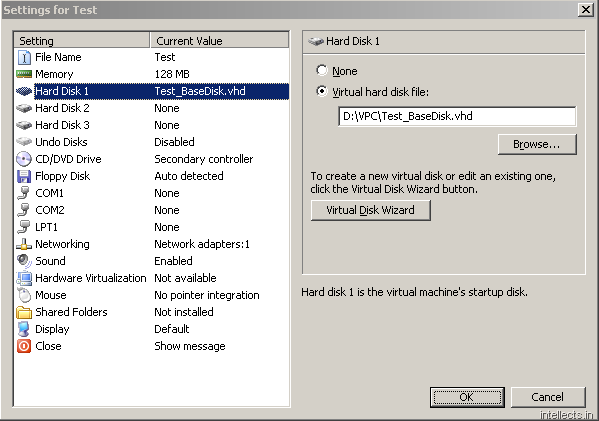
- Change the Virtual PC settings to attach this disk and remove the base disk. Select the Virtual PC for which you have created the differencing disk
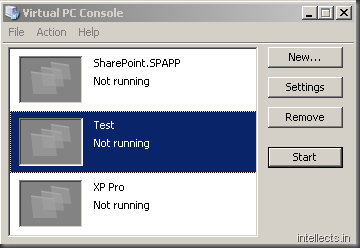
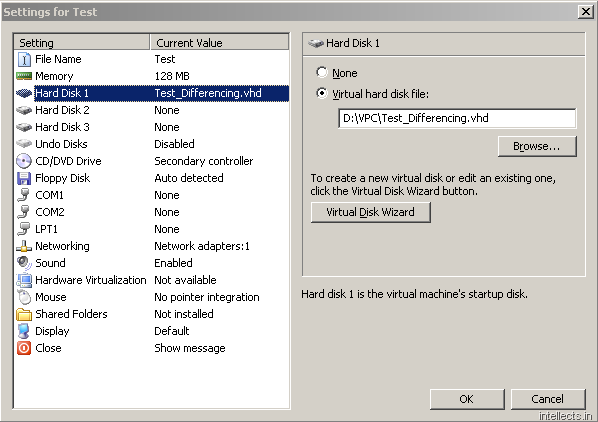
- Click on the "Settings" button
- Select setting for "Hard Disk 1" and on right side of pane click "Browse" and select the file which you created above.
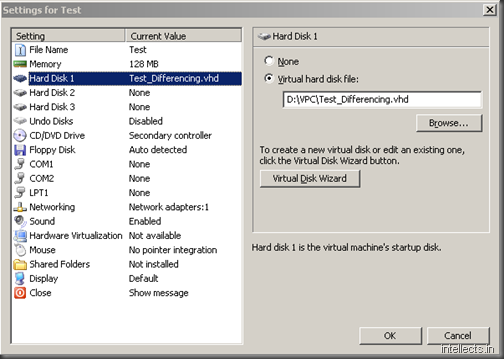
- Click "OK"
- Now you can power on the Virtual PC and keep working normally as you would

So you have now created the Differencing disk and attached it the PC. You can now screw-up you Virtual PC’s OS and if you are done playing with it you have option of discarding the changes if you are not successful in R&D, or merging the change back to the Base Disk if you think the changes you made worked good and can be committed to the base disk.
Deleting the Differencing Disk
- Turn the Virtual PC power off or shut down the Guest OS.
- Delete the Differencing Disk file from Windows Explore as you would normally delete the file. The file for our example would be "D:\VPC\Test_Differencing.vhd"
- Select the Virtual PC for which you deleted the differencing disk
- Click on the "Settings" button
- Select setting for "Hard Disk 1" and on right side of pane click "Browse" and select the base disk.
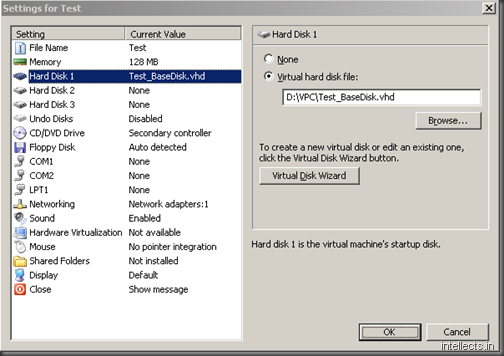
NOTE: Please make sure that you remove the read-only from parent hard disk which you might have turned on while creating differencing disk. - Click "OK"
- You might want to consider creating a new Differencing disk or can keep working on the Base Disk
Merging the Differencing Disk with Base/Parent Disk
- Open Virtual PC (Start Menu > Programs > Microsoft Virtual PC)
- Open Virtual Disk Wizard (File > Virtual Disk Wizard)
- Click "Next"
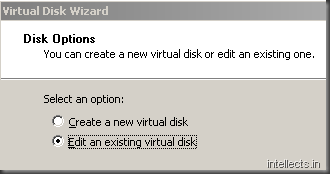
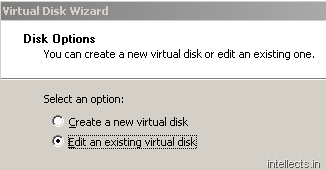
- Select "Edit an existing virtual disk" and click "Next"
- Select the Name and location of differencing disk and then click "Next"
- Select "A New file" and click "ok"
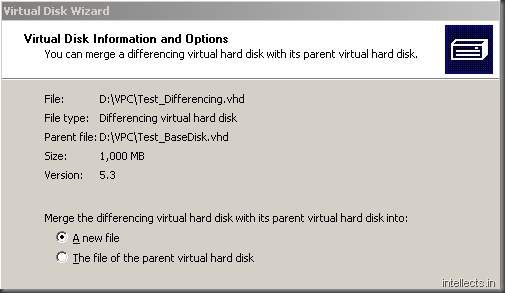
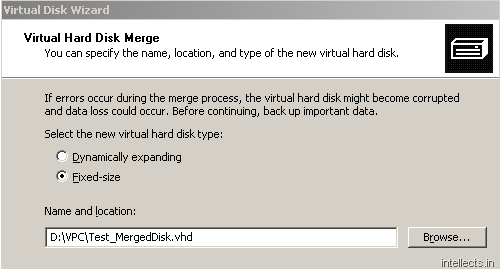
NOTE: You can also select the other option "The file of the parent virtual hard disk", but i would recommend to use the first one as it is safe and you always a backup of old file. You can delete the old file once you verify the New file. Also you can use the old file as an template from which you can extend. The size parameter cannot be changed, the size of Parent Disk is selected and this size is set when you created the base disk. - Select "Fixed-size", click "Browse…" and select Name and location to save new file, click "Next"
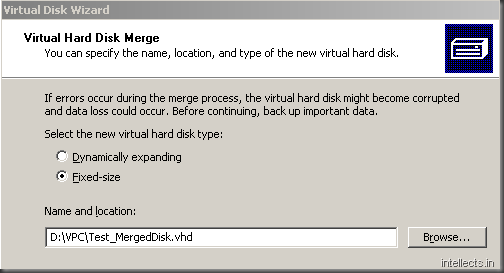
Note: Fixed-size disk is always good on performance. It also reduces the disk defragmentation. But if you are running out of space on you hard disk Dynamically expanding is way to go. This option means that the virtual hard disk will only consume space to capacity of file stored in this disk. Mean if you select the disk to be 16GB but you have file total of 3GB the disk would use 3GB and not 16GB on the Host Disk saving you 13GB… so decide wisely. - Click on "Finish"
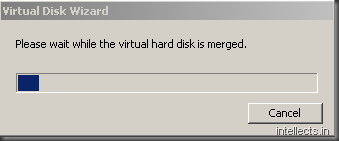
- Wait for this process to finish
- You should get the Success message when the wizard has finished processing your request
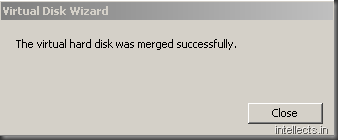
- Click "Close"
- Now you can use this disk with your existing Virtual PC or create a new

One reply on “Using Virtualization for Rapid SharePoint Development”
This information is really useful and helped me learn about Virtual PC.